Next.js Docker Images
Using Next.js Docker Images ensures consistent deployment across various environments. It enhances portability, isolation, and scalability for both development and production. Leveraging Docker’s containerization provides seamless application management and reliable performance across different stages.
What Is Docker Image ?
A Docker image is a read-only template that contains a set of instructions for creating a container that can run on the Docker platform.
In order to run these applications, we first need to create an image of the current application state. An image can be sometimes referred to as a snapshot of our project. Images are read-only in nature and consist of a file that contains the source code, libraries, dependencies, tools, and other files needed for an application to run.
To use a programming analogy, if an image is a class, then a container is an instance of a class. Containers are the reason why you’re using Docker. It is a lightweight and portable environment to run our applications.
Containers are running instances of Docker images. Containers run the actual applications.
Steps to Initialize Next.js Docker Images
Follow the below steps to initialize the NextJs Docker Images:
Step 1: Initializing NextJs project
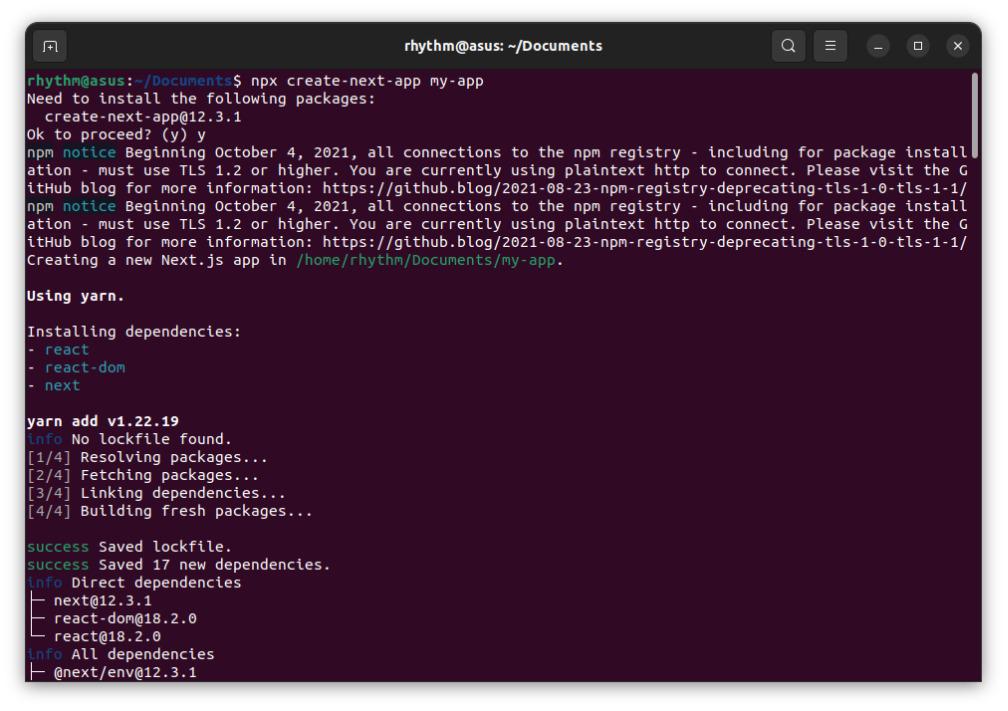
Go to the directory where you want to initialize your project and use npx to download all required files.
npx create-next-app
Step 2: Switch to Project in code editor
Open The Application On your code editor. I am using vs code and the command to open my NextJs project on it will be:
cd my-app && code .
Step 3: Create a Dockerfile in the root directory of your Next.js application.
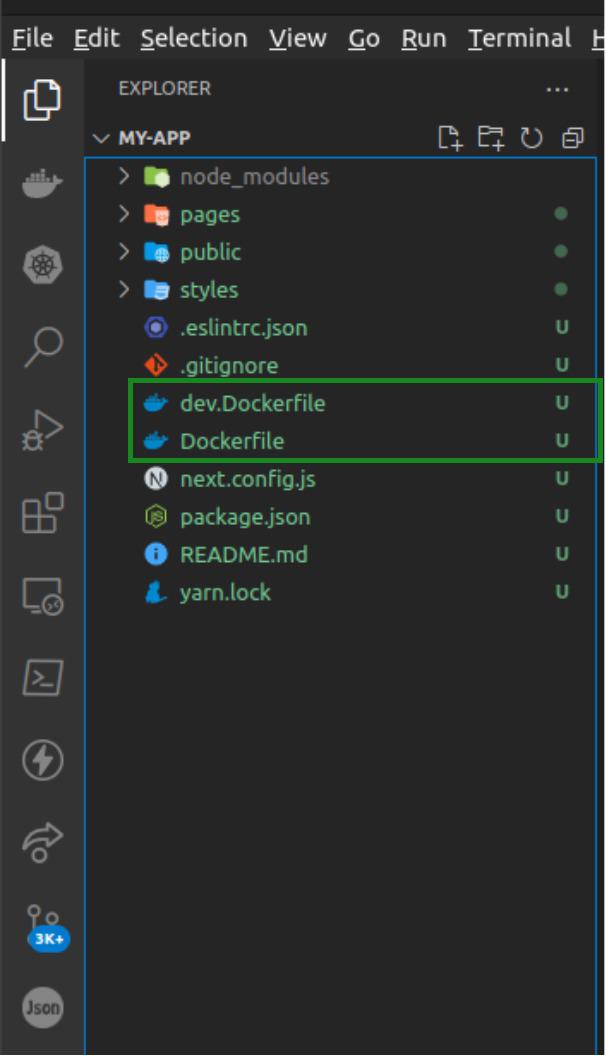
A Dockerfile is a text document that contains all the commands a user could call on the command line to assemble an image. In this step, we will create two dockerfiles.
- Dockerfile: Dockerfile for production, alternatively you can name it prod.Dockerfile
- dev.Dockerfile: Dockerfile for development
Production means when the application is deployed for use and development means when the application is under development.
This is the Dockerfile used in the production of the application:
# Stage 1: Install dependencies only when needed
FROM node:16-alpine AS deps

# Install libc6-compat for compatibility (if needed)
RUN apk add --no-cache libc6-compat

WORKDIR /app

# Copy lock files if they exist, and install dependencies
COPY package.json yarn.lock* package-lock.json* pnpm-lock.yaml* ./
RUN \
    if [ -f yarn.lock ]; then yarn install --frozen-lockfile; \
    elif [ -f package-lock.json ]; then npm ci; \
    elif [ -f pnpm-lock.yaml ]; then yarn global add pnpm && pnpm install; \
    else echo "Lockfile not found." && exit 1; \
    fi

# Stage 2: Rebuild the source code only when needed
FROM node:16-alpine AS builder

WORKDIR /app

# Copy node_modules and source code
COPY --from=deps /app/node_modules ./node_modules
COPY . .

# Disable telemetry during the build (optional)
# ENV NEXT_TELEMETRY_DISABLED 1

# Build the Next.js application
RUN yarn build
# If using npm, comment above and uncomment below
# RUN npm run build

# Stage 3: Production image
FROM node:16-alpine AS runner

WORKDIR /app

ENV NODE_ENV production

# Disable telemetry during runtime (optional)
# ENV NEXT_TELEMETRY_DISABLED 1

# Create a user for running the app
RUN addgroup --system --gid 1001 nodejs && \
    adduser --system --uid 1001 nextjs

# Copy necessary files from the builder stage
COPY --from=builder /app/public ./public
COPY --from=builder --chown=nextjs:nodejs /app/.next/standalone ./
COPY --from=builder --chown=nextjs:nodejs /app/.next/static ./.next/static

# Switch to the non-root user
USER nextjs

# Expose the port the app runs on
EXPOSE 3000

ENV PORT 3000

# Start the app
CMD ["node", "server.js"]
You can create a file named “Dockerfile” in the root directory of your project and paste these instructions into it.
This is the Dockerfile used in the development of your application:
# dev.Dockerfile for development

FROM node:18-alpine

WORKDIR /app

# Install dependencies based on the preferred package manager
COPY package.json yarn.lock* package-lock.json* pnpm-lock.yaml* ./
RUN \
    if [ -f yarn.lock ]; then yarn --frozen-lockfile; \
    elif [ -f package-lock.json ]; then npm ci; \
    elif [ -f pnpm-lock.yaml ]; then yarn global add pnpm && pnpm i; \
    else echo "Lockfile not found." && exit 1; \
    fi

COPY . .

CMD yarn dev
Step 4: Altering next.config.js.
To add support for Docker to an existing project, just copy the Dockerfile into the root of the project and add the following to the next.config.js file:
// next.config.js
module.exports = {
    // ... rest of the configuration.
      output: 'standalone',
}
Step 5: Build The Dockerfile and dev.Dockerfile
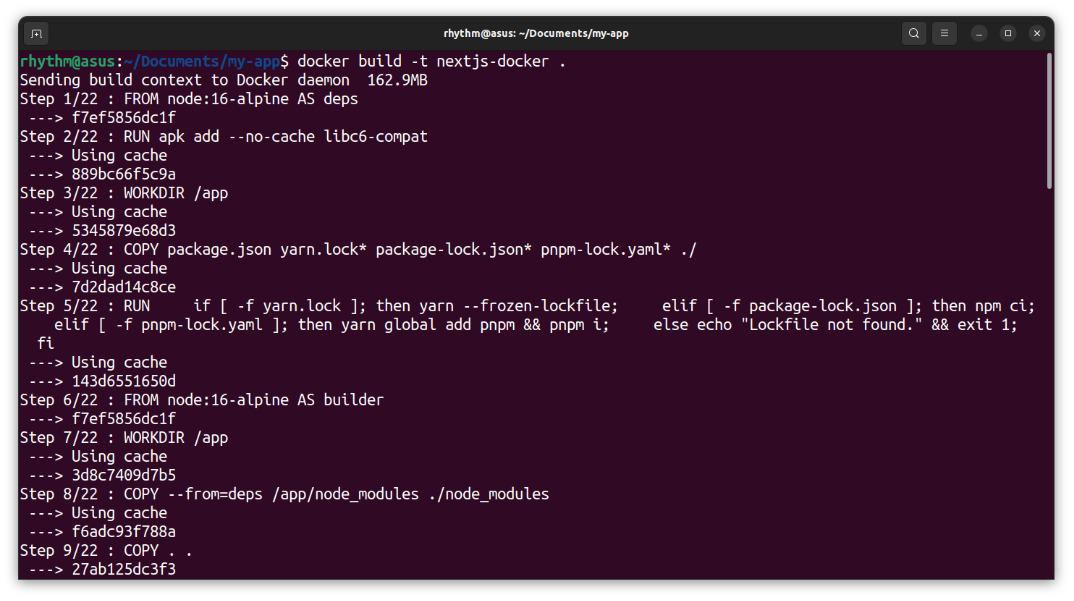
docker build -t nextjs-docker .
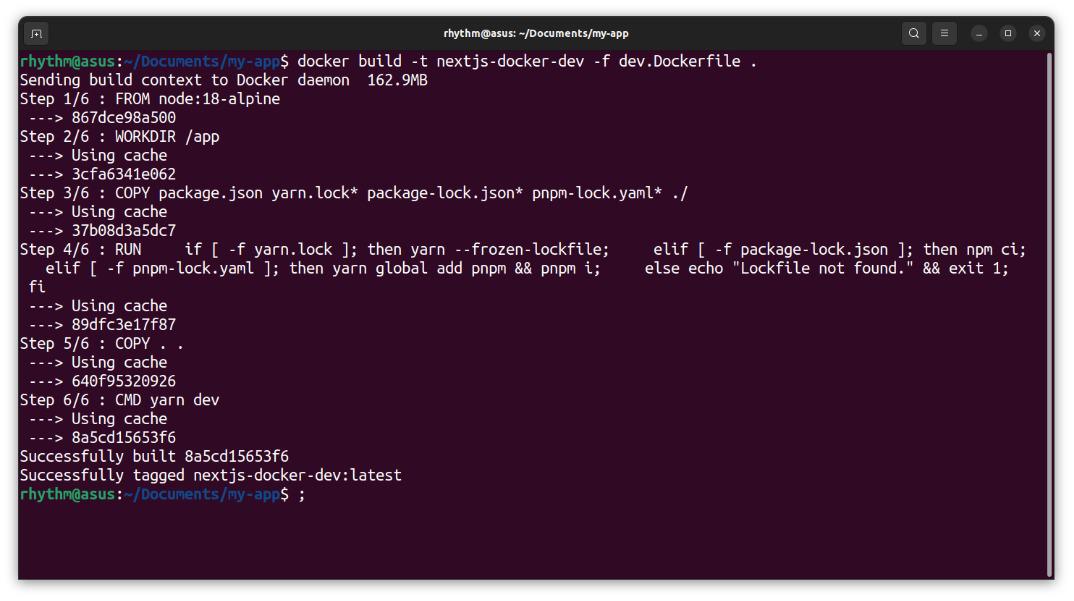
docker build -t nextjs-docker-dev -f dev.Dockerfile .
It usually takes time to build the Image for the first time.
Step 6: Run your application
Based on the tags you gave to your Dockerfiles you can now run them with the docker run command.
-
For production
docker run -p 3000:3000 nextjs-docker -
For development, files wont be synced until step 8
docker run -p 3000:3000 nextjs-docker-dev
The -p flag exposes the container’s port to services outside docker.


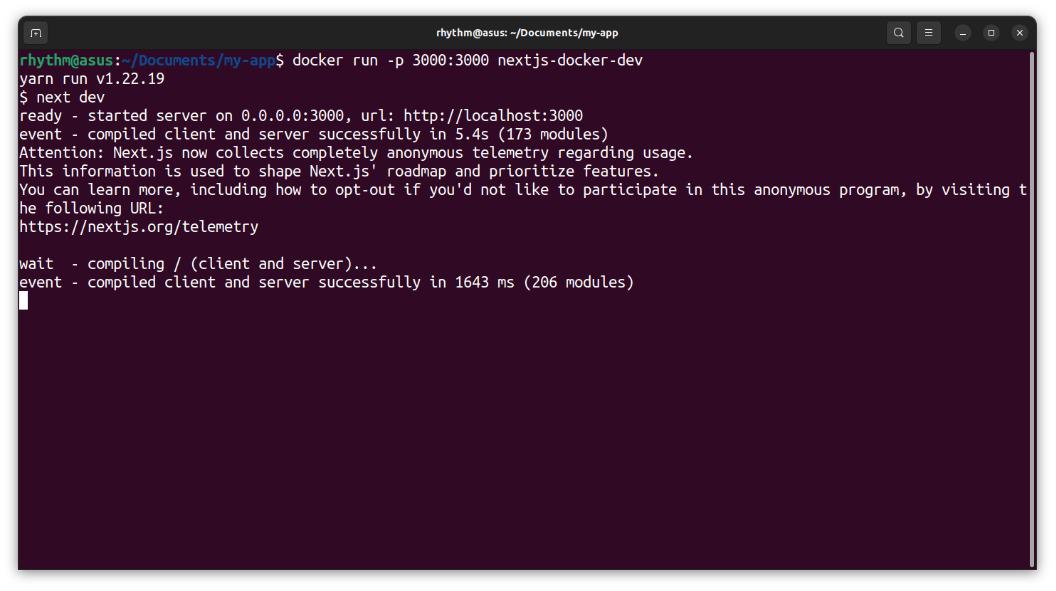
Step 7: Verify the output
Verify if our application is running.
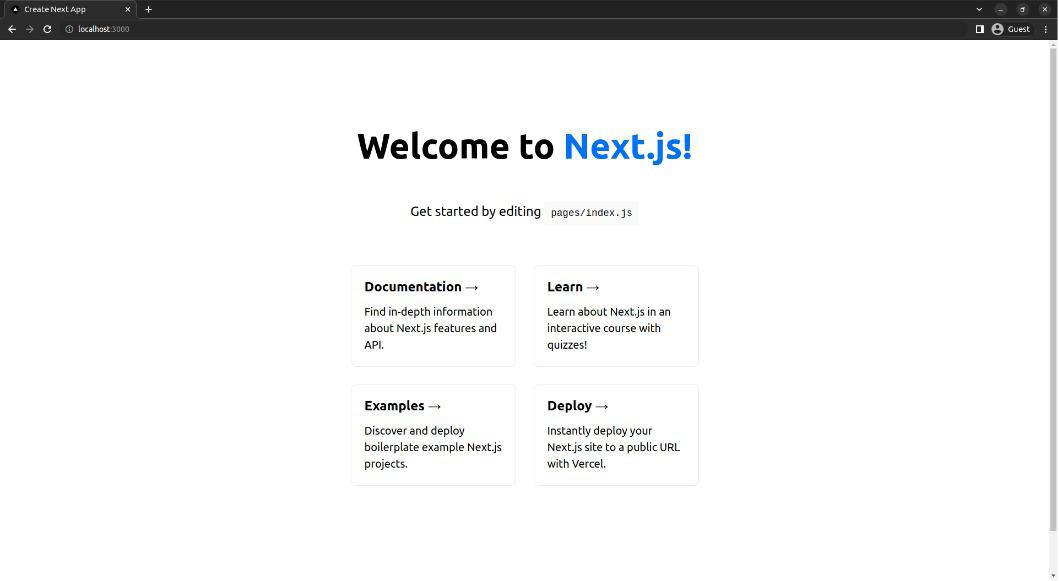
Step 8: Allow file change detection
Everything looks great so far, but there is one small problem that we did not solve. As we know Images are read-only and any file change made after the files have been built will not reflect on the localhost. For this, we have to use a bind mount. With bind mounts, we control the exact mount point on the host. We can use this to persist data, but it’s often used to provide additional data into containers.
docker run -p 3000:3000 -v $(pwd):/app nextjs-docker-dev
-v $(pwd):/app specifies the mount point of the application so that file changes can be detected.
